

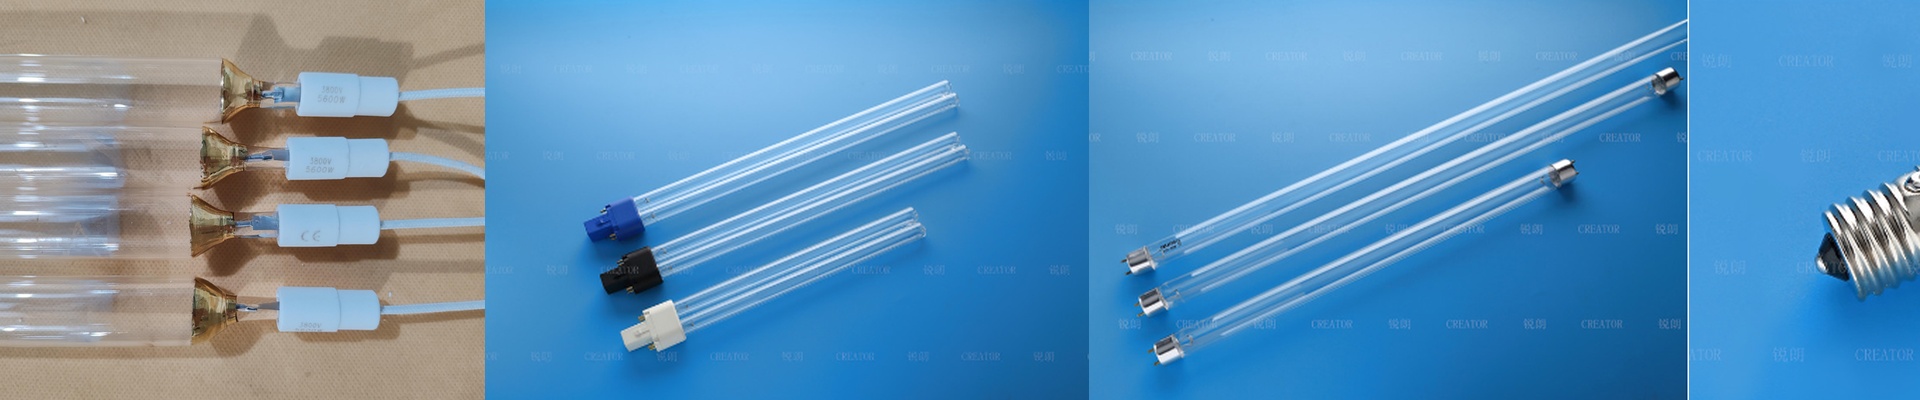

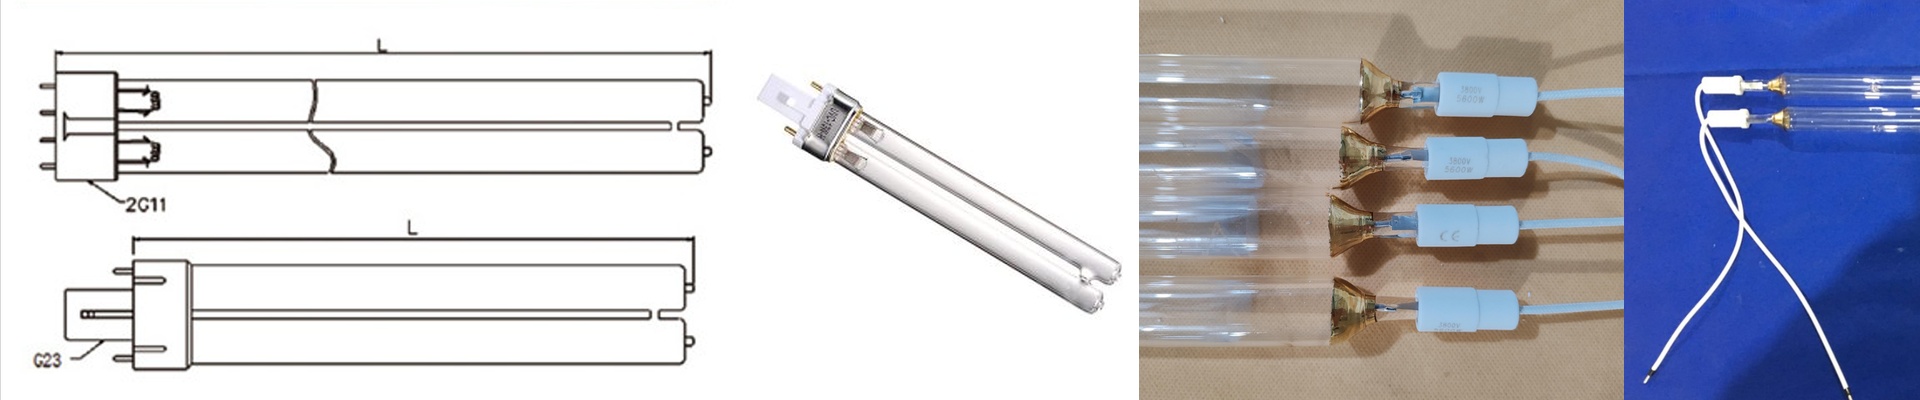

How Our Mercury UV Bulbs Actually Work
Ever wonder what’s actually happening inside those UV curing bulbs? It’s basically an electric arc jumping through pressurized mercury vapor. We spend a lot of time tweaking the internal pressure and gas mix because we need to hit those specific 254nm and 365nm wavelengths. If we don’t get that right, your inks and coatings just won’t set.
The Balancing Act: Power vs. Heat
When you look at the wattage and voltage on the label, those numbers aren’t just random. It’s a trade-off. Sure, cranking up the wattage gives you more photons, which means your conveyor belt can move faster. But there’s a catch. More power means more heat. A lot of it. If your cooling system can’t keep up and pull that heat away from the quartz glass, you’re going to have a bad time. You’ll either burn through your bulbs way too fast or, worse, warp the materials you’re trying to cure.
The Hardware Side of Things
We use high-purity fused quartz for the outer shell. Why? Because it lets the UV light fly right through without getting trapped. As for the plugs, we stick to the industry standards. We want these to be simple, drop-in replacements. Whether you’re building a custom tunnel from scratch or just swapping a dead bulb in an old factory rig, it should just click into place. No gaps, no fuss, and definitely no sparking at the pins.
Real-World Tips
These bulbs are the absolute workhorses for things like PET coating and electronics potting. They’re reliable, but they have one quirk: they need a minute to wake up. You can’t just flip the switch and expect 100% power instantly. They need a warm-up period to hit their full stride. **Pro tip:**Set up a timer or a pre-heat cycle in your PLC. It’s a small tweak, but it saves you from the headache of finding the first few parts of your run under-cured and tacky to the touch.